Sunday, 14 July 2024

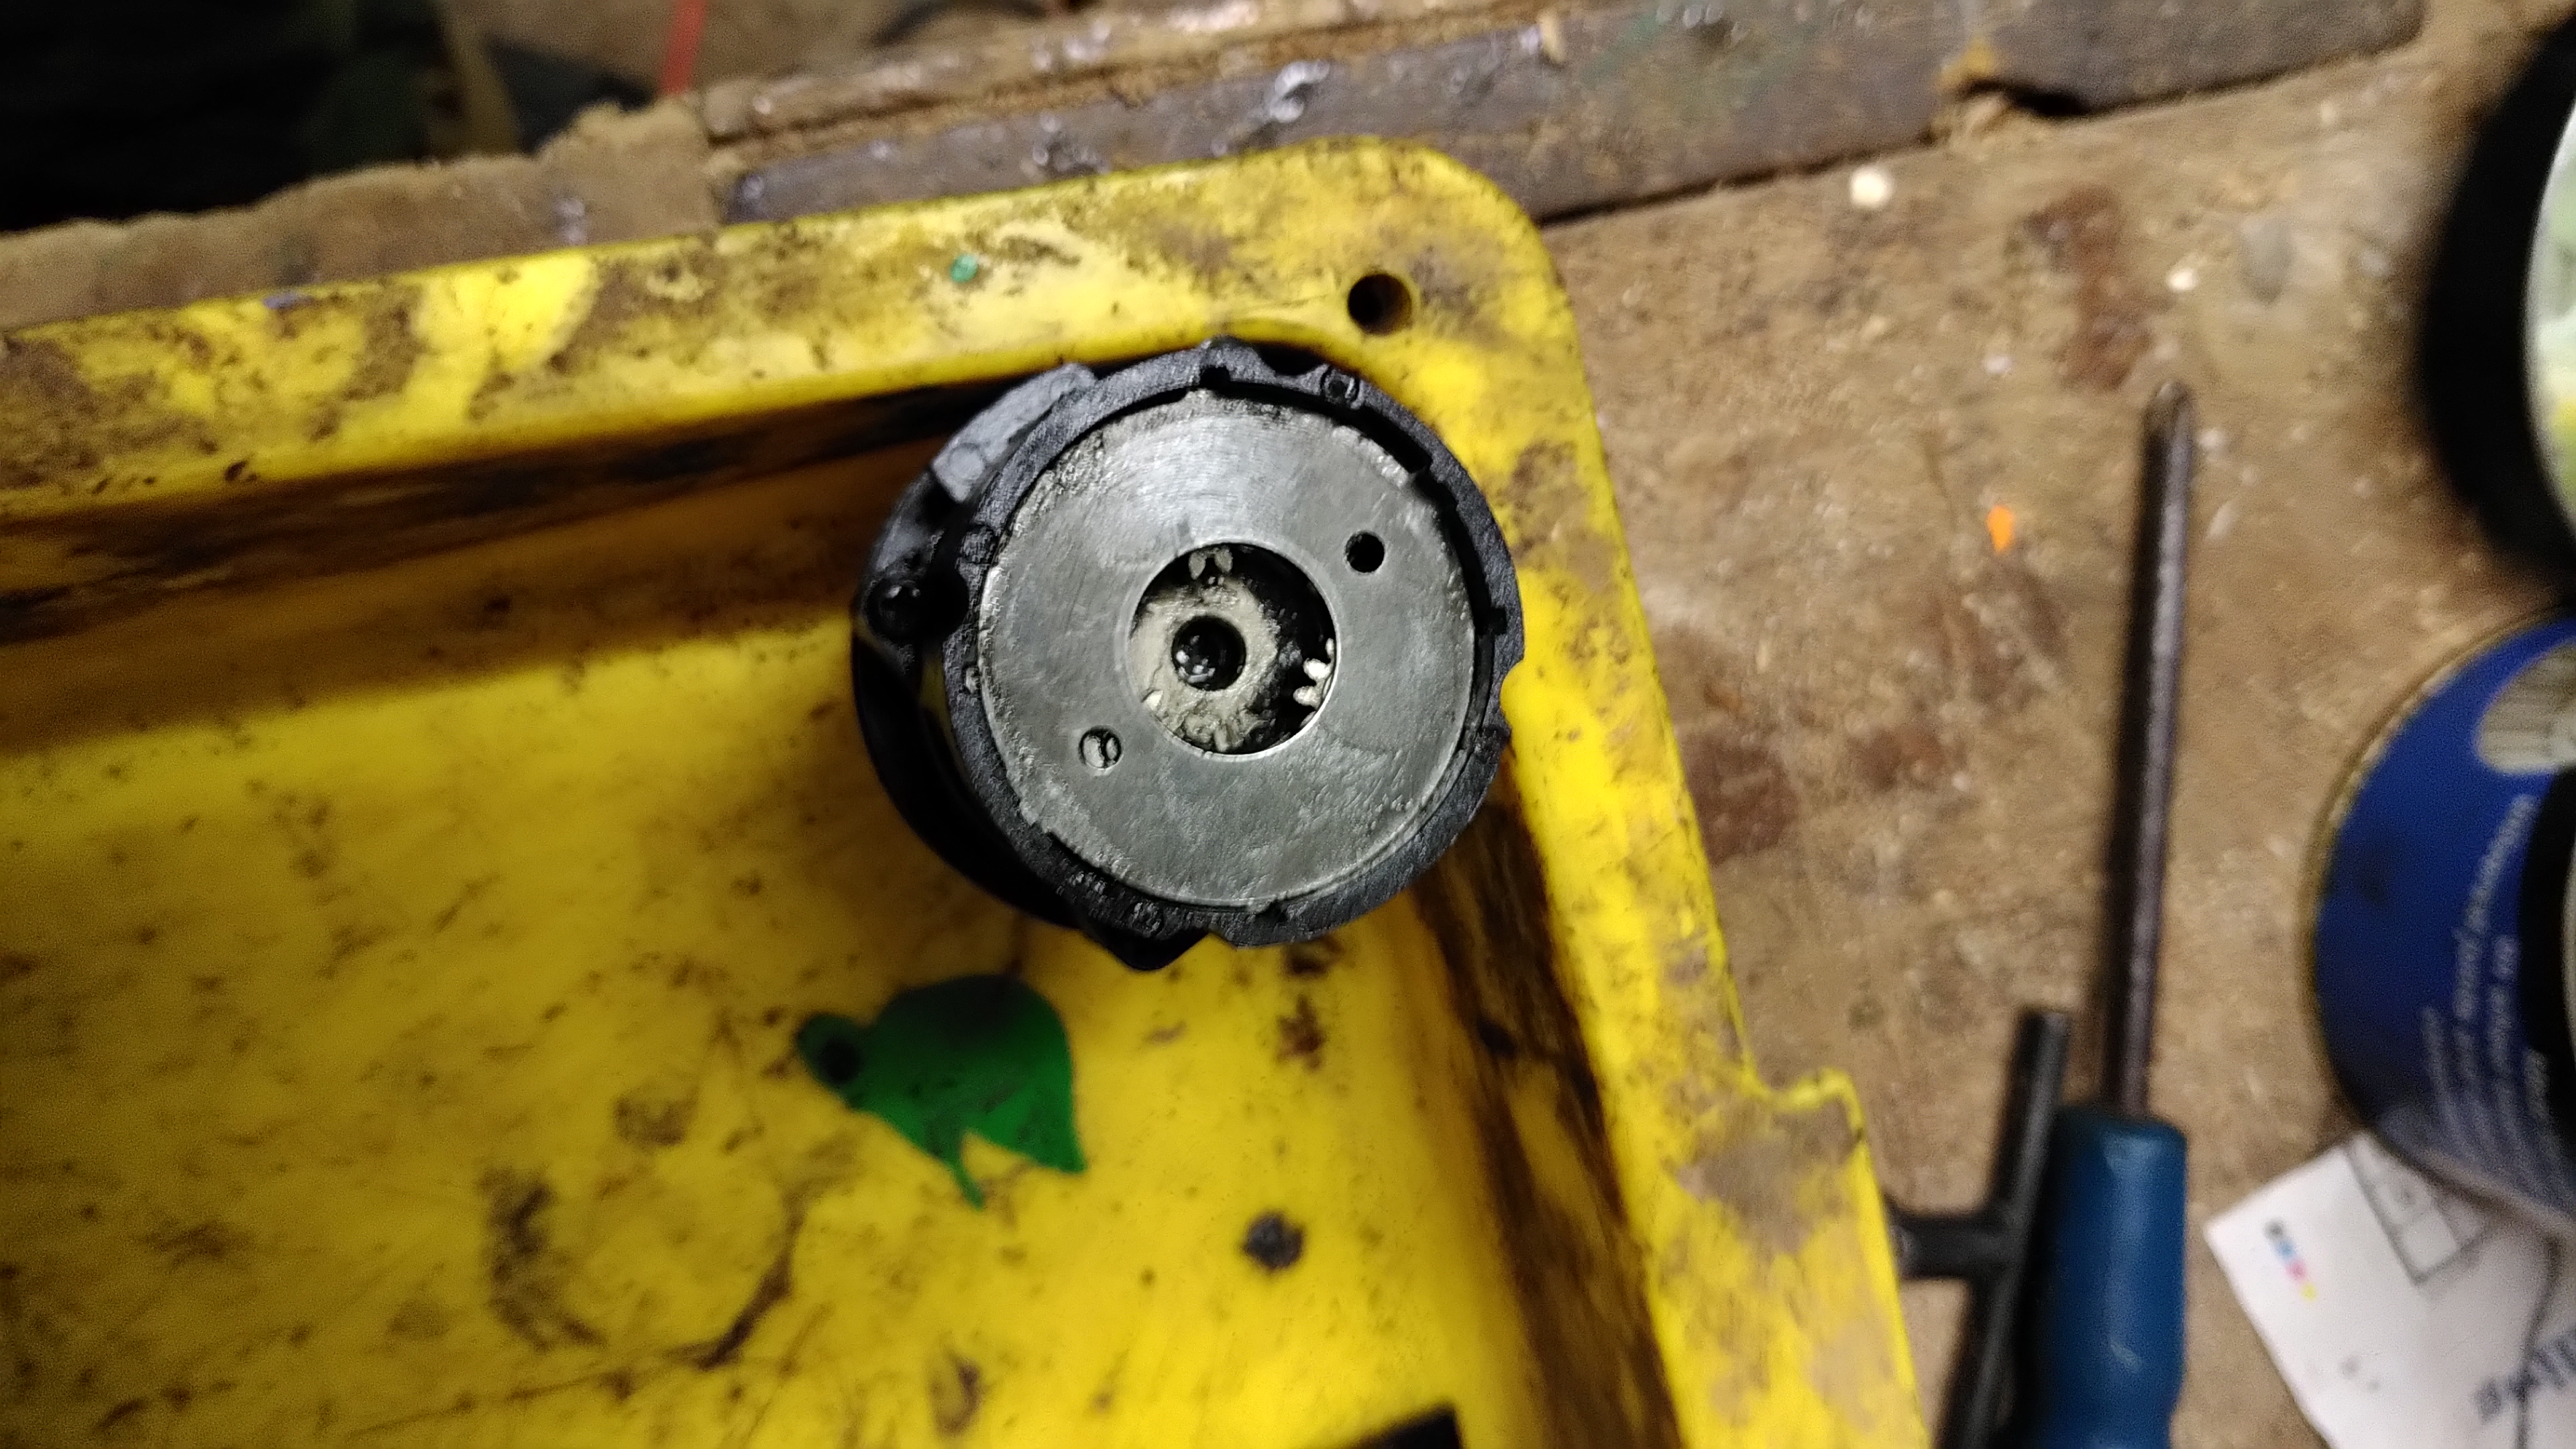
Bosch cordless drill gearbox

 The drill was making horrible stripped gear sort of noises.

I took it apart, couldn't see any damage, put is back together and it's fine. I have a horrible feeling it may have just skipped out of hear and I hadn't noticed.

But, for the record, here's how it goes back together

Remove the chuck before starting to take it apart. Left hand thread for the locking screw, right hand thread for the chuck. Put it into lowest torque setting.

All the body screws are fairly obvious.

Resist the temptation to fiddle with the torque setting once it's apart, it can turn too far in either direction and cause trouble in reassembly. If you do turn it past hammer, push those two lugs down towards the motor end while turning it back:


And here's the order for reassembly

Make sure the ball bearings are correctly seated on the springs before fitting the clutch ring, and check the clutch ring can be pushed down evenly all round.


bly:


The housing does have an alignment lug but it is quite small, check carefully


Ford 4610 Fuel Tank Removal

 I had a nasty case of diesel bug, to the point where cleaning the tank strainer was getting to be about a weekly  occurrence. I had tried cleaning the tank in place, but that just seemed to make it angry. Well, more like left more water in the tank and fed it. So the time had s=come to get the  tank off for a proper clean.

The trouble is, the cab is in the way and I don't really have the means to remove the whole cab. 

I tried splitting the cab along the half way line. Don't try this, the bar that remains under the windscreen is a solid, structural-looking thing that I din't want to interfere with.It turns out that all you need to do is remove the front two bolts holding the cab on, and then you can tip the cab up sufficiently to get the tank out without having to completely remove all the floor controls and the cab. 

To get the cowl off the steering wheel, gear selectors, throttle and instruments have to come off, and the exhaust and bonnet. 


The bracket holding the cowl on has to come off to allow the tank to pull out.


An even lit with a jack on each side

And away she goes


I cleaned and dried the  tank, and too the opportunity to get at the electrics. After refilling with fresh diesel and a dose of diesel bug treatment, it's running fine at the moment.

Wednesday, 6 July 2022

Ferrari Tractor Restoration part 2

 So, three years, a pandemic and a broken collarbone later, it's done. Not quite the blow-by-blow account I was intending when I put the last post up.


Shortly after getting some assistance with welding up the bonnet, I came off my bike, broke my collar bone and couldn't do anything for a few months. That knocked a hole in my enthusiasm. 


Once I got back to it, it was just a slow process of taking things apart, cleaning them up and repainting. It turns out that RAL6001 is about as good a match as I could hope for. Paint spraying isn't as easy as it looks, and cleaning up a sprayer takes much longer than putting a brush in water for next time, so it's only worth spraying if there is a lot to do. That means I try to get a lot ready in one morning, and end up not getting it done so it needs preparing again next weekend. On the other hand I can nip out in the evening and brush paint a small bit with minimal overheads. 


One brake pipe fell apart under the wire brush, which seems as good an outcome as I could hope for. The master cylinder was not in good shape. I assume it has been replaced at some point as the bracket looks somewhat, shall we say, after-market and it is a type usually fitted to S2 Landrovers. A new pattern one was about the same price as an OEM overhaul kit, without the risk or hassle. The brakes still aren't right, but they just about do something.  

The engine started first time, once I had fitted new batteries and fuel filter. For the record, the fuel filter is a Wix WF8156, aka Bosch A0000901151. It was fairly manky after all that time sitting.

The clutch was less cooperative. I bent the pedal jumping on it to free it off, to no avail, but eventually it came free by itself. There is almost no travel before it disengages so one day soon it will have to come apart for re-lining. New challenges await...

Overall it has gone OK, if slowly. Apart from the clutch and brakes, none of the lights work so there will be a second iteration starting soon, but it is back together and has done one show.


Sunday, 2 September 2018

Ferrari Tractor Restoration

This is what the Ferrari looked like 6 years ago...

... and this is what it looks like now...

It was quite fun taking it to Dorchester Show those years ago, so now it has been relieved of duties, it's time to give it a bii of spit and polish.

First question, what colour is it? You can get Fergie grey or Massey red anywhere, but Ferrari green not so much. I taking a guess at RAL 6001 Emerald Green.

The mesh guards over the rear lights have no trace of any original paint, and i can't see them on any of the picures I can find on the web. Perhaps they are not original fit but they were on it when I got it. I'm going to guess at black. 

So, I've started. Lets see how this goes...

Easyspin Overhaul


I recently acquired an Easyspin spinning wheel, which had been out of service for a few years. The first thing to do was to give it a good clean and lubricate, with 800 wet&dry and white grease. The spindle was easy to do by treadling while holding the abrasive paper against it - once I had fitted a new 3mm PU drive belt, as the original elastic was stretched beyond all redemption. The flyer hooks needed a little attention from a die grinder.
The next problem was a missing orifice loop. I couldn't find anything about this on the web, it it seemed fairly self evident what was needed, which could be bent up out of coat hanger wire.


Then there was the connecting rod. The leather strap connecting it to teh treadle was in dubious conditoin, and anyway, I like a double-acting treadle. This wheel has a rigid conrod but flexible liknages at both ends. I replaced teh leather strap with a small ball joint (made to be a track ord end on remote control cars)...

 ...and put a restraining clip on the keyhole slot on the other end.


Personally ]I think that makes it much more usable, although given how few wheels have properly double-acting tereadles I assume I must be in the minority.

Thursday, 24 November 2016

BT Freeway PMR dismantle

I would say repair, but I couldn't find the problem. It was a fiddly little beast to take apart though.

It starts easily enough with removing the batteries, to reveal 4 screws you can take out. That leaves it firmly stuck together at one end. What you have to do is,

Slide the silver cover on the back top down. A firm push on the raised semicircle should do it. Use a screwdriver to prise off the cover from the top, starting on the back where you have just exposed two small holes to lever in, and then on the front where you just have to work int in. Slide it up over the aerial.


Take out the final screw thus exposed, on the back near the aerial. The front now pulls off quite easily. Getting at the back however is more tricky. De-solder the tab connecting the aerial to the circuit board. Then the board should lift and pull out quite easily.
 Better luck finding any faults than I had.


Tuesday, 24 May 2016

Coffee Machine

The office coffee machine broke. I need coffee. It's a simple drip filter machine that only cost about 15 quid but there a principle at stake here. It was obviously blocked,.Descaling didn't help, and nor did taking the feed tube off the top, so it's got to come apart. First problem is the bottom is held on with triangular recess screws. An old screwdriver plus a bench grinder solved that problem. After that getting at the inlet was easy enough. There is a small valve in the inlet spigot. Sucking and blowing on the tube showed it was not working. After a little trial and error, it turns out to be easy to push out from the reservoir side with a piece of wire. At that point, a lump of paper towel fell out of the hole. Job done.

Friday, 29 April 2016

Rubics cube

I finally decided to get a new tractor. Well, I say new, 6 years newer than the old one. A Ford 4610 with what is colloquially known as the "Rubics cube" gear shift. Having tried randomly wiggling the lever about, searching the web gave no clue about how it worked. I finally resorted to buying a manual. Out turns out it is fairly straightforward, although completely unintuitive. There are three neutral positions. The one in the middle of where the starter interlock is. The ones at the ends allow the lever to be lifted, from where a secondary movement forward or back selects a gear.

All this is the right hand lever. The left hand reverse/ low/ high one is much more obvious.

Monday, 2 February 2015

Walking Wheel

The Lady of the House wanted a great wheel or walking wheel, a type of spinning wheel that predates the modern flyer-type wheels. Actually I think a great wheel is slightly different from a walking wheel, but the idea is much the same.
Basically it's just a big wheel driving a small spindle, so surely that must be easy enough to make from a old bike frame...
This idea was to use the rear triangle and bottom bracket. The spinner has to turn the wheel by hand, and keep in contact with it, so half the rear triangle had to go. To get the wheel to align reasonably with the spindle pulley (or whorl as spinners seem to say) I had to crank the chainstay over considerably, which needed some hot forging. More hot forging to draw out a spindle from a bottom bracket axle. This comes to a fine point (it's what Sleeping Beauty is supposed to have scagged herself on). A 3D printed pulley finished that part off.
Now, it needs to stand on something. It needs to be at a convenient height to use standing up, so my first idea of using the headset and seat tube was out. I cut the front tubes off, and used the top tube to extend the seat tube to the right height. A flat handlebar forged into a smaller angle makes a reasonable tripod base, although not as robust as it might be. Still, it works.

And here it is...


And a detail of the spindle

Monday, 5 January 2015

Forge extraction

The forge is now housed in its own shed.
Lovely, isn't it. It also has a better blower. The heater box really wasn't doing it, so I bought a bouncy castle blower off ebay. That does it - maybe too well.  The only trouble is, if you look carefully you can see that the fumes aren't actually going up the chimney. When there's a lot of smoke coming from kindling it is unbearable. The first chimney was 1m of 5” flue. I tried upgrading to 1.5m of 6", and raised the hearth closer to the cowl; no better. Then I noticed that it was drawing OK before I turned the fan on. As soon as the fan came on, there was a massive downdraft pulling the smoke back out of the flue. Using a bouncy castle blower there is a lot of spare draft, and with the vent closed it all comes out of the bottom of the tuyere, through the ash plate.
So, we need to put that waste air in the right direction. A T piece in the air duct was easily fitted, allowing me to fit a length of dead exhaust pipe ducting up into the cowl. This didn't really help at all. It caused a lot of turbulence at the entry to the flue, and I could see the smoke rising up then turning around and coming back down. Extending the duct right into the flue did it, now there seems to be a nice laminar flow right up the chimney. I can now light the forge and breath at the same time. Here's the "after" view, with added lights as well.
 

Sunday, 24 March 2013

Forge v0.2

The forge worked OK, but some improvements were needed. The hot zone was quite small, and I thought the relatively small duct was not helping. Off came the tube elbow, replaced with a 2" tube (once the housing of a Landrover shock absorber). I joined that to the blower with some 65mm aluminium duct (actually bought for the purpose) with a tomato can as a joiner (normal service is resumed). To allow more air through, i put more holes in the tuyere plate.


I managed to get hold of some proper forge coke. Lighting it was an absolute nightmare, it took about 6 attempts. I think this is because the coke was damp. I blocked up some of the new air holes with fire cement, in case the problem was lower speed of the blast. The air still comes out over a wider area than the original version, which does seem to have made a larger hot spot. Maybe I'll open them up again one day to compare. Anyway, it seems to be working, eventually.

Thursday, 21 March 2013

Success!

Finally, we have a print! Still needs some refining, but it is getting there.


One of the problems was a tendency for the extruder to jam. It looks like there is an insulator missing, which doesn't seem to be causing any thermal problem with the Arcol hot end, but does leave a large void at the bottom of the Wade's extruder where the feedstock can block up...

RepRap Heated Build Platform

I have been trying to get a RepRap working, on and off, for a few months. It was bought second hand, supposedly complete except for a power supply. Obligatory tat item: I have a spare ATX PSU, which ran the main RAMPS electronics and extruder fine, but cut out when I tried to power up the heated bed. This is apparently a known problem; the solution is to put a dummy load on the 5V rail. I tried 4 off 3.3ohm 10W resistors in parallel, it helped, but it still cut out whenthe heater cut in. The resistors got toasty though. Which made me think:

Instead of wasting the power going through the ballast resistors, use that to provide a base heater load and then have a lower power - which can be handled - on the 12V supply to give control. It needed nichrome wire in 18SWG and 20SWG. The original build platform was a piece of unetched circuit board, which I re-used, sticking the wires onto the non-copper side as shown in the diagram using Kapton tape. I think the copper should give better heat distribution, but I have no proof of that. I put Kapton over the copper and pinned it all down with bulldog clips, and it works just fine. The shorter (green) track is 18SWG, attached to the 5V supply. The longer   (red) track is 20SWG, and is connected to the D8 terminal on the RAMPS board.

Monday, 11 March 2013

Another use for a dead trailer wheel

... and an ex cement mixer - build a swift for water pipe or fencing wire. I had already converted the cement mixer frame in to a sack barrow, with limited success, so I was happy to repurpose it a second time when I needed to pay out some water pipe. A simple matter of cutting the swing arm off with an angle grinder and welding it onto the frame, then putting some cross arms onto the wheel (3x2 timber held on with coach screws).

Not only does it make unrolling the coil so much easier, it works as a trolley to move the coil about too.

Wheel Forge

I've been looking to make my own forge. I was thinking of using something like a gas cylinder, but then I found the idea of using a car wheel. I had a spare one of those so I gave it a go.
The hardest part was probably getting the tyre off. I managed to break the bead with a big crowbar, but could not lever the tyre off. Taking it to a garage seemed like cheating, so I cut through the bead and then it came off OK.
To duct the air in, I used a 11/4" pipe. I had a piece with a T in it, the idea being to let the ash out easily. That was welded onto a steel plate with some 1/4" holes in, and that was welded (tacked) into the centre hole of the wheel.
Top view of the tuyere. Note the dents in the rim form unsubtle tyre removal.

Bottom view
In action
For a blower I used the heater box from a Range Rover. I simply pushed the controls over so that the air was coming out of one hole, then put a duct over that made from 3" drainpipe. The two were connected with some vacuum cleaner hose, probably about 30mm diameter, all held together with duct tape, what else. Not totally efficient but it worked.

I'm trying to get hold of some proper blacksmith's coke, but in the mean time I tried it out with anthracite nuts.  As you can see, the hot spot is small but most definitely hot. That 10mm bar is getting to welding temperature there.

Tuesday, 12 August 2008

(*$%&@ Drum Brakes!

I've always thought drum brakes were a pain. Why would a designer ever choose the system that is less efficient, more complicated and harder to maintain to boot? OK I know they are better for handbrake jobs.

Anyway, the brakes on the Ferrari were even more of a hassle than the usual run. I really thought for a while I was going to have to remove the drive flange to get the new shoes in. I just could not believe that it was designed such that you had to drain the gearbox and risk getting oil all over the shoes; there had to be a better way. There was no way I could stretch the springs in situ though.

After much swearing and failing, I finally worked it out. Here for the benefit of anyone else daft enough to have bought one of these tractors is how I did it.

Removing: Take off the shoe retaining springs and lower return spring. Pull the leading shoe away from the piston and place a spacer in there. Now pull the bottom of the shoe away until it comes clear of the handbrake operating bar, and hook it to one side out of the way (fig 1). This picture is taken from the offside, ie rear of the tractor to the left.

The handbrake spreader can now be withdrawn past the shoe. (fig 2)It might need a little "persuasion" to get started.

It should now be easy to detach the top spring and the handbrake cable.

For refitting, first engage the handbrake cable then fit the top spring. Then using the cunning slot in the drive flange, work the shoes roughly into place. (fig 3). (Is it just me that thinks this looks like an afterthought in the design?). Again hook the leading shoe out the way on feed the spreader bar in, engaging it on the trailing shoe.

At this point I needed both hands, so no picture, but you need to lever both shoes away from the pistons and put spacers in, to give enough clearance to get the spacer in and keep the slots sufficiently aligned. It is probably easiest to let the bottom of the trailing shoe come away from its slot. Then pull the bottom of the leading shoe and engage the spreader. Pulling the bottom of the shoe gives enough leverage on the top spring to pull it by hand, so no slipping levers and one hand free to engage the spreader.

Then just refit the bottom spring and the retainers. What was so hard about that then?

Saturday, 9 August 2008

Blocked up PAS pump

A couple of weeks ago I was topping up the power steering reservoir on the Volvo, when I found out that the little paper disk that originally sealed the bottle was not still attached on one side, as I thought it was. I wiggled a finger round in the reservoir but I could not find it.

Shortly after that, the power steering pump started whining as though it was empty, but the reservoir had plenty of fluid in it. More than it had before in fact. Odd. It seems the paper disk had blocked up the pump inlet.

Removing the pump and reservoir assembly was straightforward enough, apart from the fact that three of the bolts can only be accessed though a hole in the pulley and there is only just enough space to get a socket into it. I tried rinsing the offending article out by filling the tank with oil and shaking it upside down, to no avail. According to the Haynes manual, separating the tank from the pump requires special tools and should be sent to a dealer. Yeah, right. Since when are a vice, a screwdriver and a pair of water pump pliers special tools? Having got them separated, I was able to back-flush the tank and sure enough out fell the blockage.

There is the offending item. All back together now and happy.

Wednesday, 6 August 2008

Tractor repairs

I've nearly got the tractor going again. It has been up on jacks for a couple of weeks. I decided it was time to check the brake shoes, as a precautin. Most were OK but one wheel was contaminated with axle oil from a duff oil seal. The UK main agents were up to their usual standard, no response to my enquiry. Luckily the oil seal is standard, and I could see the size - 60-85-10 - from the outside.

The shoes had to be sent off for re-lining. I have had two shoes relined, and the plan is to fit them as the leading shoes with the older shoes, which were on the other wheel, as trailing.

The one brake hose was in a very sorry state. This also had to be acquired by spec, rather than by application. M10x1.25 female convex unions at each end, our local hydraulics supplier doesn't keep those unions so I went to a performance brake supplier and got a shiney braided one. Well it is a Ferrari :). Not too expensive either in fact. And while I had the brake hydraulics apart, I changed the brake light switch. M10x1 taper thread - the local car shop came up with the goods, as fitted to a 70s cortina (Commercial Ignition XBLS7).

SO having changed the oil seal, I had to top up the axle again. I finally tracked down the right oil. BP Energol GR280XP it says on the filler cap. 220 appears to be the nearest that is currently made. I still have not found out what the practical difference is between industrial CLP gear oil (at £60/20l) and automotive GL4 (EP90) at about half the price.

Tuesday, 17 July 2007

Why is everything broken?

Today got off to an interesting start. I was supposed to be moving the quad by trailer this morning, and it really needed pressure washing first. Trouble is, it had a flat tyre, which I got fixed last week but then didn't pick up until yesterday. Then I got held up at work, so by the time I'd got home, eaten, fed the pigs and re-fitted the tyre it seemed a bit late to get the tractor out - we do have neighbours, even if they are a reasonable way off.

So, up early this morning (but not too early, same reason), fired up the tractor, got the 100 litres of diesel out the back of the landrover, moved the great lump of concrete out the way of the garage door, put the tractor back out of the way (occasionally having to stop the tractor and then get out an decompress it to start again, because neither the parking brake nor the charging circuit seem very happy). Started up the quad... phut. no battery. Tried the kick start, not happy. Tried a jump start from a spare electric fence battery, nothing.

Gave up at this point, closed the garage, brought the concrete back, put the tractor away, went to work. About an hour of farting about for no gain. Poo. If I'd remembered to pick up the tyre on saturday morning, it might all have been so different.
Creative Commons License
This work is licensed under a Creative Commons Attribution-ShareAlike 4.0 International License.